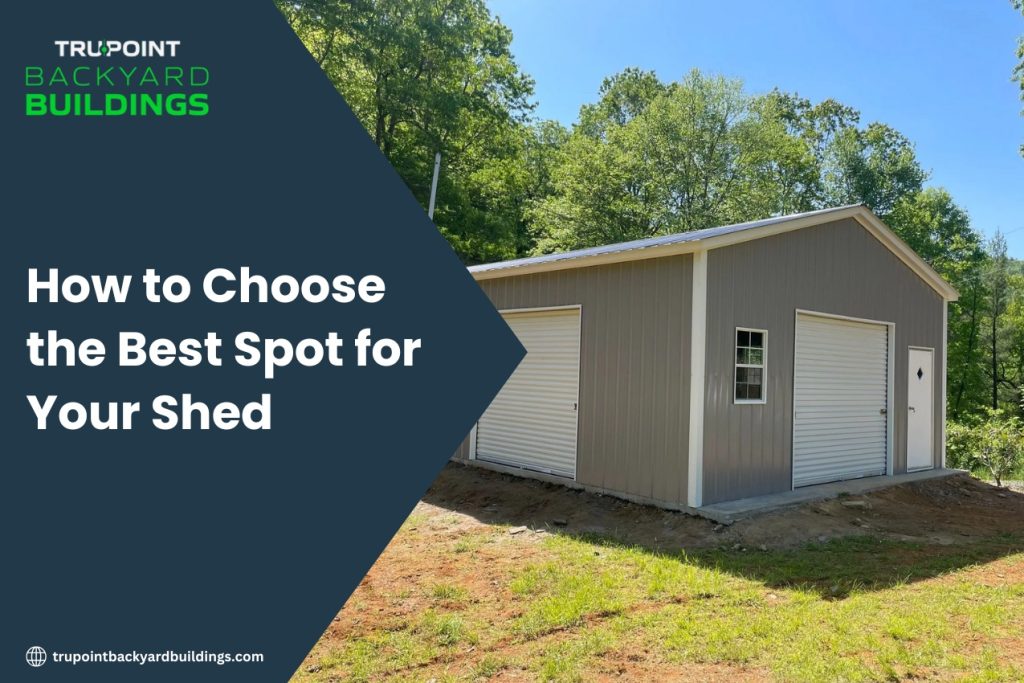
Adding a backyard shed is one of the most rewarding upgrades you can make to your property. Whether you’re looking for a place to store tools, create a private workspace, or simply add value and convenience to your home, a well-placed shed can make all the difference. But before you start dreaming about paint colors or flooring options, there’s one important question you need to answer first: Where should you put your shed?
Choosing the right spot for your shed is not just about convenience. It impacts functionality, long-term durability, property aesthetics, and even resale value. That’s why we’ve put together this detailed guide to help you find the ideal location for your shed — and make sure your investment pays off for years to come.
At TruPoint Backyard Buildings, we’ve helped countless homeowners plan and place their sheds with confidence. In this guide, we’ll walk you through every step of the process, from zoning considerations to landscape planning. Let’s get started.
Why Your Shed’s Location Matters
Before we dive into the “how,” let’s look at the “why.” The location of your shed affects:
Accessibility: If you need frequent access to tools or supplies, you’ll want it nearby.
Drainage and durability: The wrong placement can lead to moisture problems, rot, or even foundation issues.
Aesthetics: A shed can enhance your landscape — or stick out like a sore thumb.
Zoning compliance: Placing your shed too close to property lines can lead to headaches or costly fines.
In short, where you place your shed has a direct impact on how useful it is — and how well it holds up over time.
Step 1: Understand Your Property Layout
Take a good look at your backyard. Walk the entire area and take notes on:
Natural slopes or hills
Low-lying areas where water tends to collect
Tree roots or large rocks
Existing structures like fences, decks, and pools
Sun exposure throughout the day
Having a solid understanding of your yard’s natural layout helps narrow down the most practical and stable spots.
Pro Tip: Use flags or garden stakes to map out possible shed locations visually. This gives you a better sense of spacing and proportions before making any decisions.
Step 2: Check Local Building Codes and HOA Rules
Not every town or neighborhood has the same rules when it comes to shed placement. Some require a permit based on the shed’s size, while others may limit how close you can place it to a property line, fence, or other structures.
Be sure to check for:
Zoning setbacks (distance from property lines)
Maximum height and size limits
HOA (Homeowners Association) restrictions
At TruPoint Backyard Buildings, we’re happy to help you navigate your local requirements during your planning process. Knowing what’s allowed early on can save you time, money, and potential rework.
Step 3: Choose a Level Spot
A shed needs a level foundation. Placing your shed on a slope or uneven ground will require extra site preparation and foundation work, which can add to the cost. Even worse, poor leveling can lead to long-term structural problems.
Here’s what to look for:
Naturally flat ground is ideal
Avoid dips or soft soil where water might collect
Stay clear of steep slopes unless you’re planning significant groundwork
If your property has challenging terrain, we can help evaluate and prepare the site for a long-lasting foundation. We offer professional site prep advice to help you avoid surprises during delivery and installation.
Step 4: Think About Accessibility and Use
How you plan to use your shed directly affects where you should put it. Ask yourself:
Will I need easy access in the winter?
Do I plan to run electricity to the shed?
Is it for gardening tools or seasonal storage?
Will I be moving large equipment in and out?
If you’re storing lawn care items or power tools, it makes sense to place the shed closer to the garage or driveway. If it’s a garden shed, place it near your garden beds. For a hobby space or home office, choose a quiet area away from high-traffic zones.
Make sure there’s a clear, walkable path from your home to the shed. Adding stepping stones, gravel, or a walkway can improve access and curb appeal.
Step 5: Optimize for Sunlight and Ventilation
Sunlight might not seem like a big deal — but it matters more than you think. A sunny location helps:
Keep moisture out by drying up rain and condensation
Prevent mold and mildew
Make interior lighting more effective if you install windows
On the other hand, too much direct sunlight may cause overheating or fade stored items over time. The key is balance. Look for a spot with partial sun and good air flow to keep things dry and comfortable inside.
Step 6: Keep It Away from Trees and Overhead Hazards
Trees can add beauty and shade, but placing your shed too close can lead to problems. Watch out for:
Overhanging branches that could fall in a storm
Leaves and debris that clog gutters and roofs
Root systems that may disrupt your shed foundation
Also consider overhead power lines or cables. Delivery and installation may require clearance for equipment, so choosing an open area makes the entire process smoother.
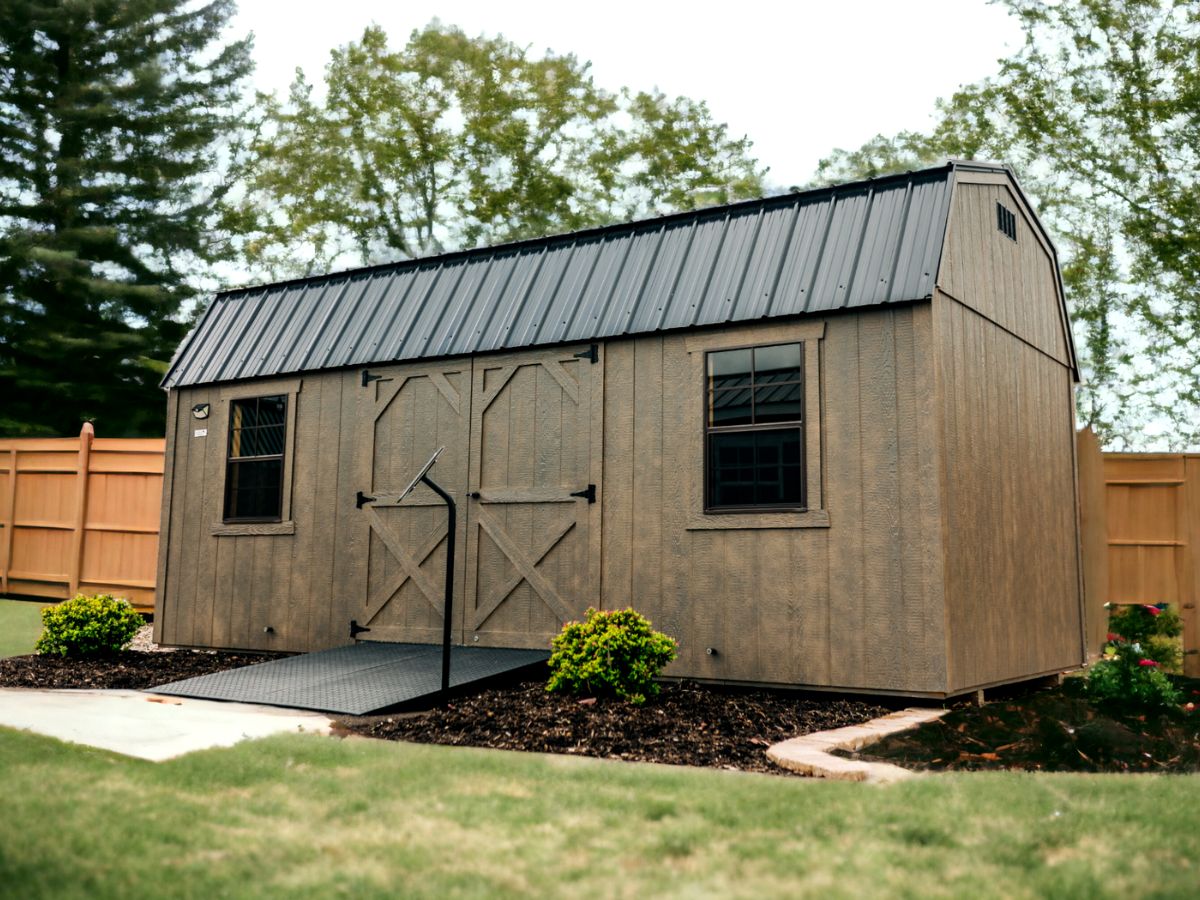
Step 7: Blend with Your Landscape Design
Think of your shed as part of your outdoor living space, not just a storage box. When placed thoughtfully, a shed can actually enhance your backyard’s overall look.
Try these placement ideas:
Nestle your shed beside a flower bed or garden path
Match its color or trim to your home’s exterior
Frame it with shrubs or small trees for a cozy look
Use decorative lighting to tie it into your landscape design
At TruPoint, our buildings are fully customizable to match your personal style. Whether you’re going for rustic charm or modern simplicity, we can help you create a shed that complements your space.
Step 8: Plan for Future Projects
Will you be adding a patio, fence, or pool in the next few years? Keep those plans in mind now, so your shed doesn’t block or interfere with future upgrades.
A little foresight goes a long way when it comes to saving space and money down the road. Leave enough room for landscaping, expansion, or access around the shed as needed.
Step 9: Choose the Right Size for the Space
Even the perfect location can feel awkward if the shed is too big or too small. Make sure your shed matches the scale of your yard and fits naturally into the space.
Use this quick checklist:
Measure your available space and mark the footprint
Check setbacks to ensure legal placement
Leave clearance for doors, windows, and walking space
Avoid overcrowding by maintaining visual balance with nearby features
Need help visualizing it? Our 3D Shed Builder Tool lets you design your dream shed, customize the size and features, and place it into your yard virtually. You’ll know exactly how it looks before making a commitment.
Step 10: Consult the Experts
Planning your shed’s location might feel overwhelming, but you’re not alone. At TruPoint Backyard Buildings, we specialize in making your shed experience smooth and stress-free from start to finish.
We take time to understand your needs, inspect your space, and guide you toward the best solution for your property. When you work with us, you’re not just buying a shed — you’re investing in expert craftsmanship, friendly support, and a shed you’ll love for years.
Why Choose TruPoint for Your Shed?
Here’s what sets us apart:
Locally built, high-quality structures with lasting value
Fully customizable options for size, layout, color, roofing, and doors
Easy, professional delivery and installation
3D Shed Builder Tool for visual planning and pricing
Customer-first support before, during, and after the sale
Our mission is to help you make the most of your backyard — and we’re here to walk you through every step.
Start Planning Today
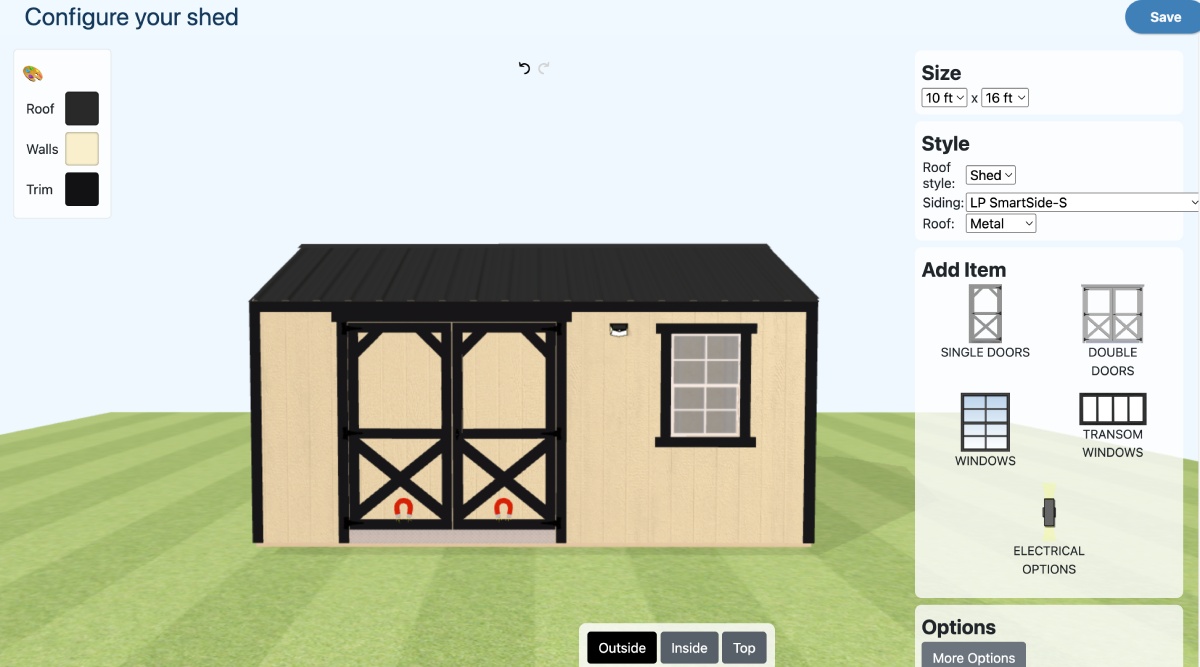
Ready to find the perfect spot and get the perfect shed? Try our 3D Shed Builder Tool now to design and visualize your shed before delivery. It’s fast, easy to use, and a great way to see your options in real time.
If you have any questions, our team is just a call or message away. We’d love to help you plan the shed that fits your life, your yard, and your vision.
Contact us today to get expert advice and personalized support from the TruPoint team.